
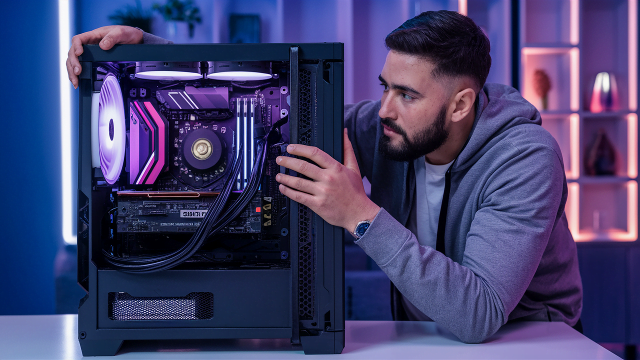
Are you ready to tackle the exciting world of building your gaming PC without breaking the bank? Building a gaming PC can be an extremely fulfilling experience, offering outstanding customization, top-notch performance, and excellent value that pre-built systems often fail to match.
In this complete guide, we’ll walk you through each stage of building a gaming PC on a budget, covering everything from selecting the right components to seamlessly creating them and powering up your rig for the first time.
Whether you’re a beginner or have some previous experience, this guide is created to be highly informative, easy to understand, and full of practical tips to ensure your success.
Step 1: Define Your Budget and Gaming Requirements
Before you start the exciting journey of choosing components, it’s crucial to set your budget and gaming needs. Select the maximum amount you’re comfortable spending on your gaming PC and outline the types of games you plan to play. This primary step will help you to make well-informed decisions when selecting components later.
Step 2: Research and Select Components
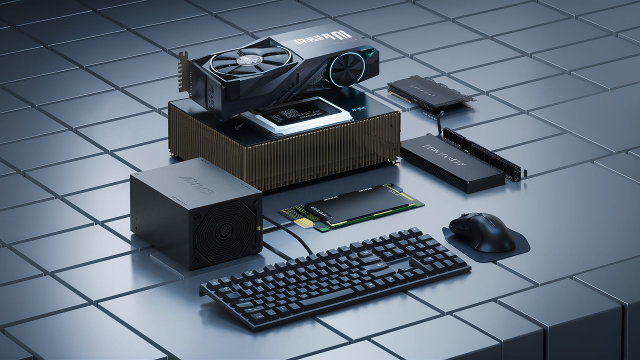
Now that you have a clear budget, it’s time to work through research and handpick the components for your gaming PC. Here are the key components you’ll need to require:
- Processor (CPU): Opt for a processor that hits a pleasant balance between performance and affordability, catering to your gaming requirements.
- Graphics Card (GPU): The GPU plays a key role in gaming performance. Select a budget-friendly GPU capable of running the games you’re eager about.
- Motherboard: Choose a motherboard that is compatible with your chosen CPU and offers the necessary features to meet your needs.
- Memory (RAM): Aim for a minimum of 8GB of RAM, preferably in a dual-channel configuration to enhance performance.
- Storage: Consider a mix of SSD for rapid boot times and HDD for ample storage capacity. Alternatively, opt for a cost-effective SSD if it aligns with your budget.
- Power Supply (PSU): Invest in a reliable PSU with good watts to power your components comfortably.
- Case: Select a case that adjusts your components, facilitates efficient airflow, and allows room for future upgrades.
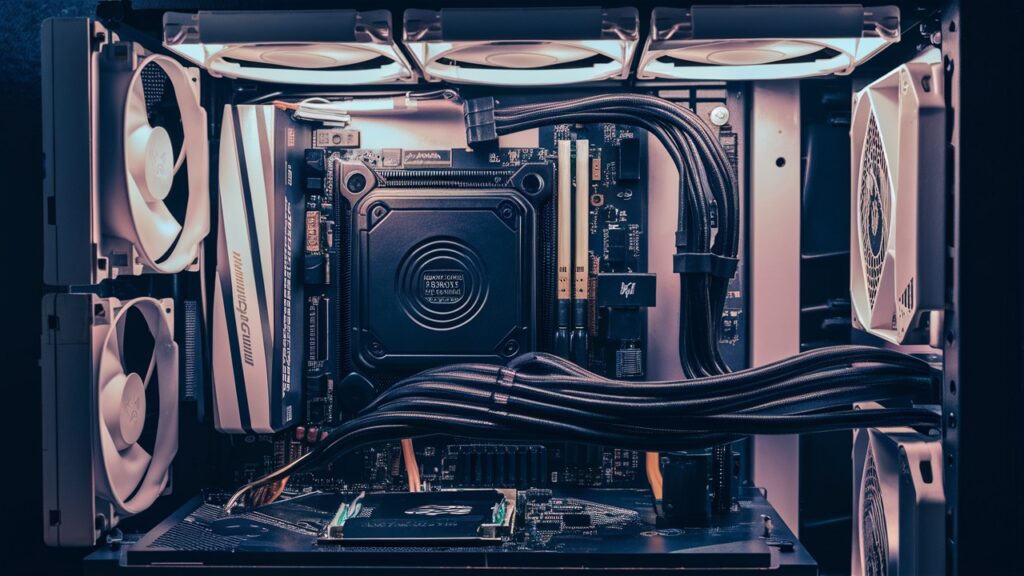
Step 3: Assembling Your Components: A Detailed Step-by-Step Guide
Building your gaming PC might seem harsh at first, but by following these simple and clear instructions, you’ll be able to assemble your components with comfort. Here’s a complete guide on how to put everything together:
a. Prepare the Workspace
1. Clear a Space:
Find a large, clean, and well-lit area to work. A table or desk works best.
2. Gather Your Tools:
You’ll need a Phillips-head screwdriver, zip ties for cable management, and possibly some thermal paste if your CPU cooler doesn’t come with it pre-applied.
3. Anti-Static Precautions:
To avoid static electricity damaging your components, touch a metal object to ground yourself or use an anti-static wrist strap.
b. Install the CPU
1. Open the CPU Socket:
On the motherboard, locate the CPU socket and lift the lever or latch to open it.
2. Insert the CPU:
Carefully remove the CPU from its packaging, handling it by the edges. Align the CPU with the socket by matching the arrow on the CPU with the corresponding markers on the socket.
3. Secure the CPU:
Gently place the CPU into the socket without forcing it. Once it’s in place, lower the lever or latch to secure it.
c. Mount the Motherboard
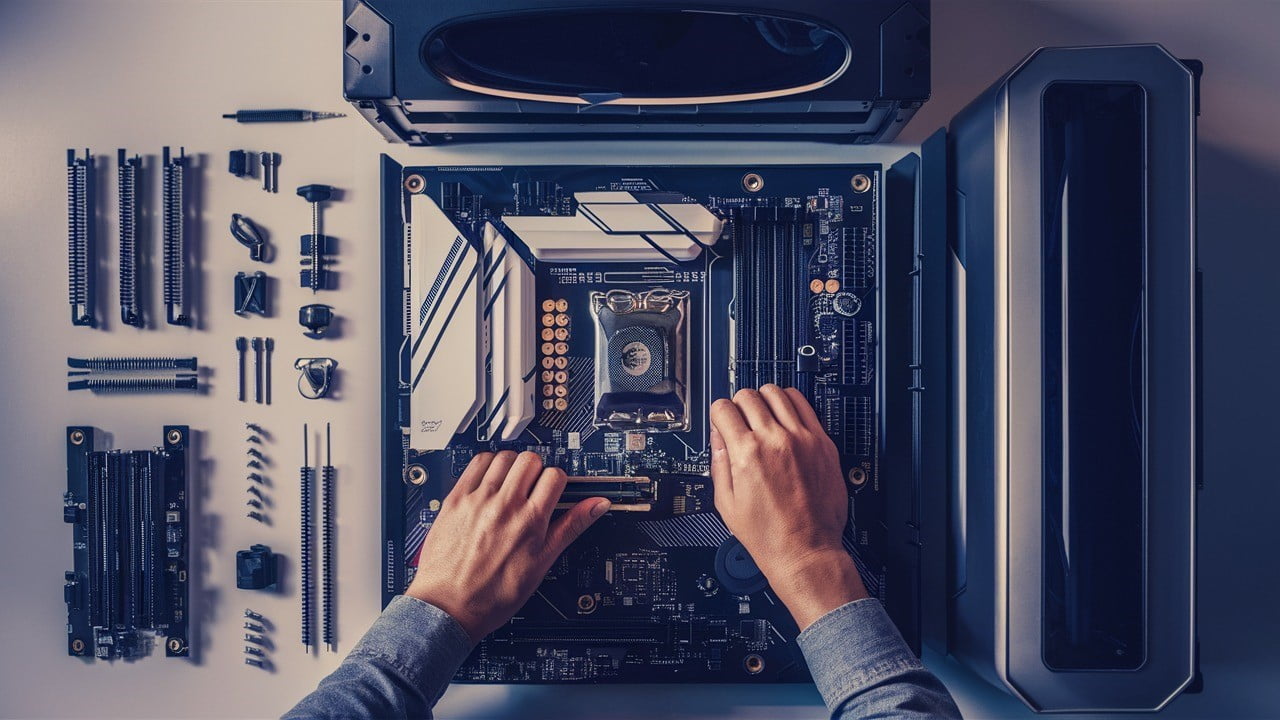
1. Install Standoffs:
Inside the case, find the mounting points for the motherboard. Screw in the standoffs (small brass spacers) to these points.
2. Align the Motherboard:
Place the motherboard inside the case, aligning the holes on the motherboard with the standoffs.
3. Secure the Motherboard:
Use screws to attach the motherboard to the standoffs, ensuring it is firmly secured.
d. Install RAM and Graphics Card
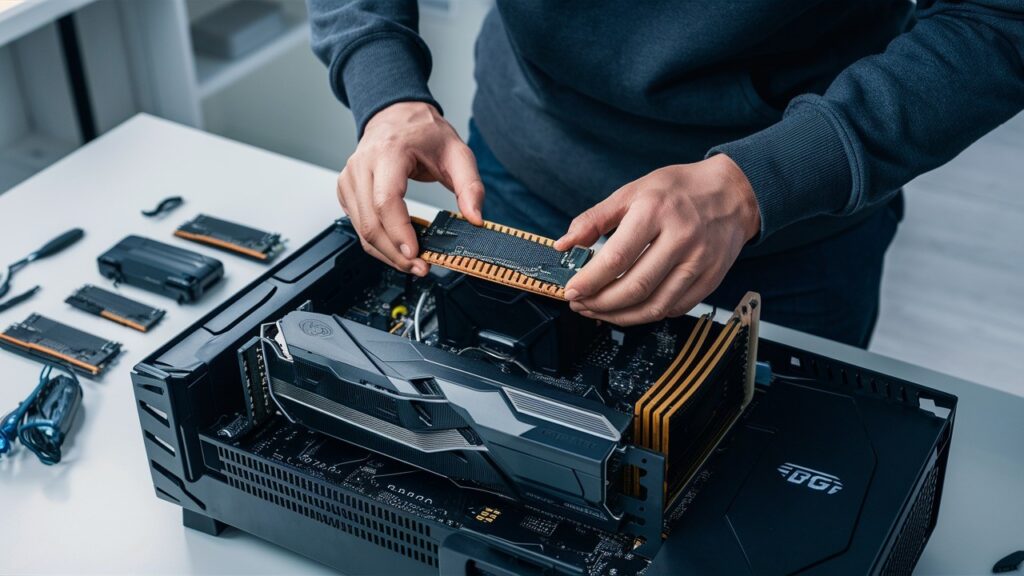
1. Install RAM:
- Open the RAM slots on the motherboard by pushing the clips on each end down.
- Take your RAM sticks and align the notch with the slot on the motherboard.
- Press the RAM sticks firmly into place until the clips snap back up, securing the RAM.
2. Install the Graphics Card:
- Locate the PCIe slot on the motherboard (usually the longest slot).
- Remove any necessary slot covers from the case to make room for the graphics card.
- Insert the graphics card into the PCIe slot, pressing down firmly until it clicks into place.
- Secure the graphics card to the case with screws to ensure it doesn’t move.
e. Connect Storage Drives
1. Mount the Drives:
- If you have an SSD, mount it in the designated SSD bay or bracket.
- For an HDD, place it in one of the larger drive bays.
2. Connect SATA Cables:
- Connect one end of the SATA cable to the storage drive.
- Connect the other end to a SATA port on the motherboard.
- If your SSD or HDD requires power from the power supply, connect the appropriate power cable.
f. Connect the Power Supply
1. Install the Power Supply (PSU):
- Position the PSU in its designated spot in the case, usually at the bottom or top rear.
- Secure it with screws.
2. Connect Power Cables:
- 24-Pin ATX Cable: This large connector goes from the PSU to the motherboard.
- 8-Pin CPU Cable: Connect this cable from the PSU to the CPU power socket on the motherboard.
- PCIe Cables: These cables power the graphics card. Connect the required number of PCIe cables to the GPU.
- SATA Power Cables: These power your SSD and HDD. Connect them from the PSU to the drives.
g. Cable Management
1. Organize Cables:
- Route your cables through the designated channels and cutouts in the case.
- Use zip ties to bundle cables together, keeping them tidy and out of the way of airflow.
2. Ensure Airflow:
Properly managing your cables not only makes your build look clean but also helps maintain good airflow, which is crucial for cooling your components.
Final Steps
Once you have all your components installed and cables managed, double-check all connections to ensure everything is securely in place.
Step 4: Connect Peripherals and Power On
With your components assembled, it’s time to connect your peripherals and power on your gaming PC:
1. Connect Monitor, Keyboard, and Mouse:
Connect your monitor to the GPU and plug your keyboard and mouse into the USB ports on the motherboard.
2. Connect Power Cables:
Plug in the power cables for your PC and monitor, and switch them on.
3. Power On:
Press the power button on your PC and monitor to initiate the boot process.
Step 5: BIOS Setup and Operating System Installation
Upon powering on your PC for the first time, you may need to access the BIOS to configure settings and install your operating system (OS):
1. Enter BIOS:
Follow the on-screen prompts (typically involving pressing Del, F2, or F12 during startup) to access the BIOS settings.
2. Configure Settings:
Adjust the boot order to prioritize booting from your OS installation media (USB or DVD drive).
3. Install OS:
Insert your OS installation media and follow the prompts to install the operating system (e.g., Windows 10 or 11).
4. Install Drivers:
After OS installation, install the necessary drivers for your motherboard, GPU, and other components from the provided discs or download them from the respective manufacturer websites.
Step 6: System Testing and Optimization
Once your OS and drivers are installed, it’s crucial to thoroughly test your system and optimize its performance:
1. Run System Updates:
Ensure your OS, drivers, and software are updated to the latest versions for enhanced security and performance.
2. Benchmarking:
Utilize benchmarking software to assess your PC’s performance and ensure all components are functioning optimally.
3. Temperature Monitoring:
Monitor the temperatures of your CPU and GPU during gaming sessions to prevent overheating and maintain performance.
4. Overclocking (Optional):
If you’re comfortable with overclocking, consider tweaking your CPU or GPU settings for increased performance. However, exercise caution and adhere to safe limits.
Step 7: Enjoy Your Gaming PC
Congratulations on successfully building and setting up your gaming PC on a budget! It’s time to immerse yourself in your favorite games with enhanced performance and customization options. Share your experiences and insights with fellow gamers, and revel in the joy of gaming on a system you built yourself.
Conclusion
Building a gaming PC on a budget is possible and very satisfying work. By following this detailed step-by-step guide, you can create a personalized gaming rig that caters to your gaming aspirations without exceeding your financial conditions.
Remember to conduct thorough research, take your time during assembly, and conduct complete testing to ensure optimal performance. Happy gaming and may your gaming adventures be filled with excitement and enjoyment!