
Are you ready to start on a journey into the world of cosplay and costuming? Having your own self-made glimmering mail gauntlets can enhance your costume to the next level. These accessories are shiny and eye-catching, and not only do they enhance the credibility of your costume, but they also display your skill.
In this complete guide, we’ll show you the step-by-step process of making your own glimmering mail gauntlets, provide tips for choosing the right materials, and offer practical advice to ensure your project is a success. Whether you are a professional cosplayer or a beginner this guide will help you in making those stylish gauntlets that will make you the center of attraction in any costume event.
The Art of Crafting Glimmering Mail Gauntlets
The Allure of Glimmering Mail
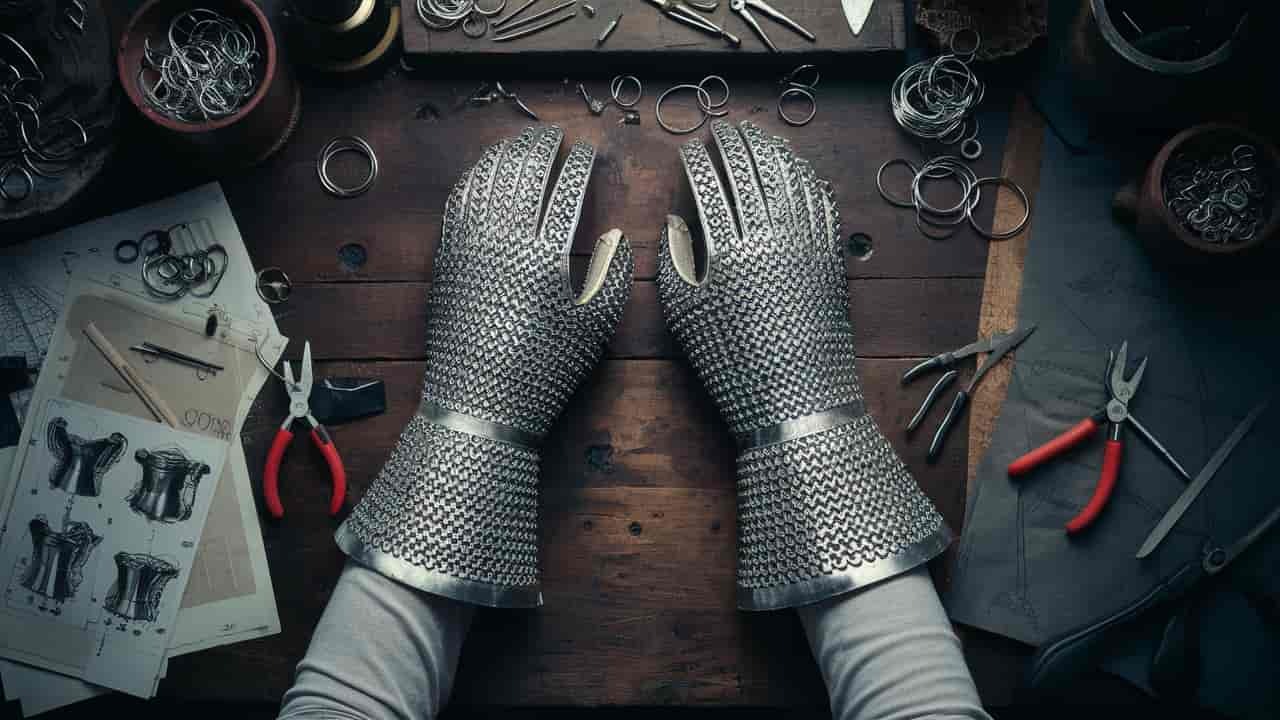
Glimmering mail gauntlets, also known as chain mail gauntlets, have long been fascinating to people who like dressing up in costumes and other types of armor. Due to their shiny metal look and complicated shapes, these accessories convey the impression of power and endurance as well as mystery. No matter if you want to wear it to a party, a cosplay event, or if you just love to dress up, mail gauntlets in a shiny, noble metal look will turn your outfit attractive and make it even more stunning.
Why Make Your Own Gauntlets?
Although one can easily purchase costume gloves that can be used in the performance, there is no doubt that handmade mail gauntlets have numerous advantages. Not only does it give you the freedom to be creative and accessorize according to your own personal tastes, but it also provides the rewards of knowing that you have designed and constructed something original.
Moreover, making your own gauntlets allows you to choose the design, size, and features that meet your needs and preferences and are suitable not only for cosplay but also for the expected adventures and performances.
Tools & Materials
Before starting the process of making gloves, it’s important to select the right materials for your glimmering mail gauntlets. Here are some options to consider:
1. High-Density Foam Sheets
These foam sheets are the main material for your gauntlets. They must be of sufficient thickness so that the structure created by glasses is firm, but at the same time, they should not be too massive and uncomfortable to wear.
2. Metallic Paint
Buy the metallic paint of any of the colors you prefer most, whether gold, silver, bronze, or copper metallic paint. This paint will dry to something between silver and metal, being bright and shiny not dull.
3. Glue
Use strong glue like hot glue, contact cement, or E6000 to put your gauntlets together. This ensures all parts stick well and stay in place.
4. Scissors
Scissors will be used to cut the foam sheets and this will require a neat and sharp one. This way you can achieve clean edges and the proper shapes that your gauntlets will have.
5. Template
It is very important to use good templates so that your gauntlets are the correct size and shape. You can find templates online or draw your own to fit your needs.
6. Protective Gear
Whenever you are painting or applying glues, ensure that you protect yourself. Wear gloves to keep your hands safe, a mask to avoid inhaling fumes, and goggles to protect your eyes.
Step-by-Step Making Guide of Glimmering Mail Gauntlets
Now that you’ve chosen your materials, it’s time to dive into the crafting process. Follow these step-by-step instructions to create your own glimmering mail gauntlets:
Step 1: Creating the Template
1. 1. Finding a Template Online
First, look for a template of a gauntlet on the internet. There are many websites out there that provide free or paid templates such as The Foam Cave, Kamui Cosplay, or Cosplay DIY. Make sure that the selected template fits your design and size preferences, as well.
1. 2. Creating Your Own Template
If you want a specific design, one method is to outline the gauntlet design on paper. Ensure that you have the correct sizes of your wrist, forearm, and hand length to get the right sizes. Now transfer the sketch to better paper or some cardboard which could be more tough.
Step 2: Cutting the Foam
2. 1. Tracing the Template
Put the template on the foam sheet and draw around it using a pencil or a marker pen. The lines should be clean and each line should be properly defined.
2. 2. Cutting the Foam
With sharp scissors, cut off all the edges following the traced lines on the material. Spend the time necessary to cut your clay models slowly and evenly so that you will achieve a clear and clean look.
2. 3. Test Fitting
After cutting all the pieces, try fitting them together to check if the pieces fit properly in one another. Cut any pieces for a better fit if it is required.
Step 3: Assembling the Gauntlets
3. 1. Applying Glue
Take a small piece of glue and carefully spread it along the entire frame of the foam pieces. While choosing glue, always ensure that it works well on foam, some of which include hot glue or even contact cement.
3. 2. Pressing the Pieces Together
Gently press the foam pieces together such that they fit well on each other with specific regard to the glued areas. Press the pieces for almost a minute or so to ensure that the glue sticks to the surface appropriately.
3. 3. Drying Time
After that glue the assembled parts together and wait for the glue to dry totally. It is recommended that you wait for approximately 24 hours after applying the glue and stick to the drying time suggested by the works.
Step 4: Painting the Gauntlets
4. 1. Preparing the Work Area
Organize a comfortable working area with a drop cloth to avoid accidents and clean the working area.
4. 2. Applying a Base Coat
Over the foam gauntlets, use a thin coat of primer or a base coat of your choice. This leaves the surface smooth for the metallic paint, to give it a professional look and shine.
4. 3. Painting with Metallic Paint
Always, make sure that the metallic paint is well shaken before you apply it on the surface. It is best used with a thin layer which can be applied through a brush or a sponge applicator. Wait for it to dry, and then apply several coats for an enhanced reflective effect.
4. 4. Adding Shading and Highlights
To create depth paint a rise of darkness applying a darker metallic paint, and use a lighter metallic paint for the highlight. It also improves the feather-like look which gives the gauntlets a more realistic look.
Step 5: Adding Embellishments
5. 1. Decorative Elements
Add metallic studs, gemstones, or any other embellishment that you may wish to add to your gauntlets. These can add an extra touch and improve the style further.
5. 2. Sealing the Paint
Finally, it is advisable to use an effect coat or a sealer on top of the painted metallic surface to enhance its durability.
Choosing the Right Materials
Foam
Why Choose High-Density Foam?
High-density foam provides the structure needed to support the shape of the gauntlets as well as their durability, while at the same time leaving the armor relatively light and comfortable to wear. Another advantage is its capability of being easily designed and trimmed.
Price Considerations
Foam sheets can be relatively cheap but it is imperative to check if the thickness and quality do not impact the price. Depending on the type and quality, which you can find on Amazon, you should spend about $10-$20 to get a sufficient amount of high-density foam.
Metallic Paint
Choosing the Right Paint
High-quality metallic paint is recommended for this purpose to get a shiny, glistening surface. To get a shiny finish, ensure that the paint contains fine metallic particles.
Price Range
The metallic paint goes for between $5 and $15 per bottle. Using good paint makes the work more professional and lasts longer as compared to an average low-quality paint.
Glue
Selecting Strong Glue
Select a glue that is suitable for the foam and ensures that it has a good grip on the same foam. Some of the commonly used glues include hot glue, contact cement, and E6000 glue.
Cost
Depending on the type of glue that you want to apply, you should be ready to spend between $5 and $10 for a good one. It is also important to have enough for the entire project.
Practical Tips and Advice
1. Test Materaials First
It is recommended to test a small piece of foam before painting and gluing the final material to make sure that you will get the expected result. It also helps to match the materials and avoid any problems during the creation process.
2. Work in a Well-Ventilated Area
When using glue and paint always ensure that you work in a well-ventilated room to avoid inhaling the gases that are produced by these chemicals. For even more protection, one can wear gloves and a face mask.
3. Patience is Key
Give enough time to dry glue or paint after each of these steps before moving on to the next step. Attempting to do it quickly may result in stains or poor bonding.
Conclusion
Making your own shiny mail gauntlets is satisfying work and enhances the overall appearance of your cosplay or costume dramatically. I do hope that by following this step-by-step guide you will be able to create impressive and stylish gauntlets which will be unique to your creative vision. So my advice is, don’t rush the creations, select premium materials, and more importantly, have fun. Time and dedication will be rewarded with stunning-looking gauntlets that everyone will notice on any occasion. Happy crafting!
Frequently Asked Questions About Glimmering Mail Gauntlets
Time taken depends on the level of expertise and the detail of the design or model being used. It can take several days to execute the project because glue and paint sometimes require drying or curing.
Yes, you can use materials such as Worbla, EVA foam, or even metal if you want to create an even more intricate armor set. All these materials have their advantages and disadvantages depending on cost, workability, as well as the final looks.
If you can’t get it right the first time, the second time is just as good. Small errors can then be covered with additional foam, and the template can be fine-tuned accordingly. Please take your time for they say; practice makes perfect.
As for the creation of the template, make sure that you take proper measurements of your wrist, forearm, and the length of your hand. If it is possible try to arrange the pieces so that they fit well before gluing to avoid an uncomfortable fit.
Of course, you can decorate them with LEDs or any electronic items to make your gauntlets look even cooler. It is very important to decide the locations and the wiring that will be most effective in coming out in the design without interference.
Yes, you can create glittering mail gauntlets even without having high-level crafting skills and it takes some time. It is suggested to start with foam or leather as they are relatively easier to cut and do not necessarily need expensive cutting tools.
It takes a certain amount of time to craft glittering mail gauntlets, depending on the detail, the material you use, and your crafting level. From experience, it takes anything from several hours to several days to complete a pair of gauntlets, depending on the size of the order.
Yes, the mail gauntlets will glitter appropriately for use in outdoor occasions such as cosplay parties, renaissance fairs, and reenactment activities. But this must be taken with the weather conditions and the possibility of wearing out the gauntlets, especially if these are made from foam or other light materials.